Wow.. It’s been a while since I’ve written here! Hopefully I can make it a more frequent occurrence.
The most exciting bit of news since I last posted is that I’m going to be an aunt– for the first time! My husband’s brother and his wife are having their first baby, and they are due April 2. To help the time go by faster (for myself and my sister-in-law), I decided to give her a baby gift every month up until the baby is born. Since she is due on the 2nd, I have been bringing the gifts over on the 2nd of each month and leaving them at their door to surprise them.
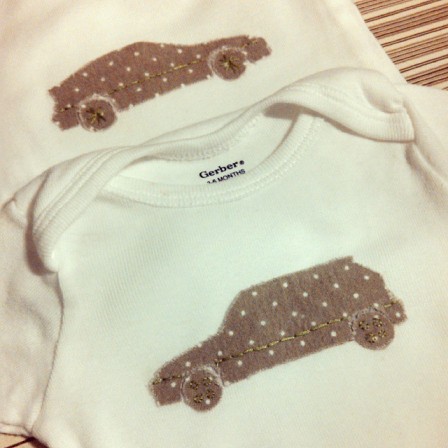
In October, I was lazy and brought them a Sophie the Giraffe. Thankfully my dog didn’t get to it first, because he got mighty excited every time we squeaked it. For November, I really wanted to give them something handmade. After lots of “pinteresting,” I settled on some DIY onesies with my brother-in-law’s cars on them. As a family, we are really into cars. I “race” for run and Jerm and his brother race for reals. One of his cars was even featured in Super Street magazine.
I figured since they were such specific and meaningful cars, the onesies could still work fine for a girl. (They know what they are having, but haven’t told.) I was hoping to machine applique the car outlines on, but I couldn’t figure out how to get the onesies over my sewing machine arm and stitch all the way around a car… Fusible webbing to the rescue! Add in a little bit of hand stitching for details, and you have a 1987 Honda CRX and a 1990 Civic Hatch – with phone dial rims just like the ones on my hatch =). Baby’s got the coolest auntie! Since they aren’t stitched on, the edges frayed a little bit in the wash, but I think it adds to the charm.
Next up for the December gift is DIY Baby Blocks – not the plastic ones you can buy today – real old school wooden ones like I played with as a kid. This project didn’t cost anything as I already had all the materials on hand.
Here is what I used:
1 – 4’ Length of 2×2 Poplar cut into 26 blocks (and for reasons not understood by me, 2×2 is 1.5” x 1.5”)
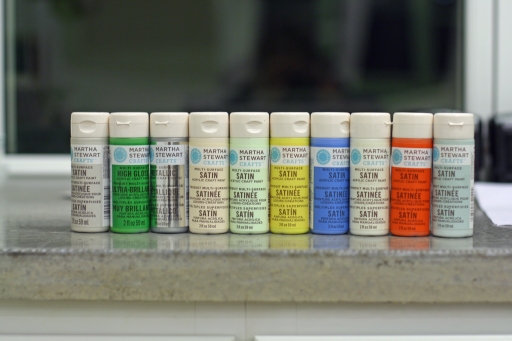
Martha Stewart Acrylic Paints. I used –from left to right– Lake Fog, Scottish Highlands, Sterling, Porcelain Doll, Artichoke, Yellowjacket, Blue Calico, Summer Linen, Geranium, and Cloud.
Clear, water-based polyurethane
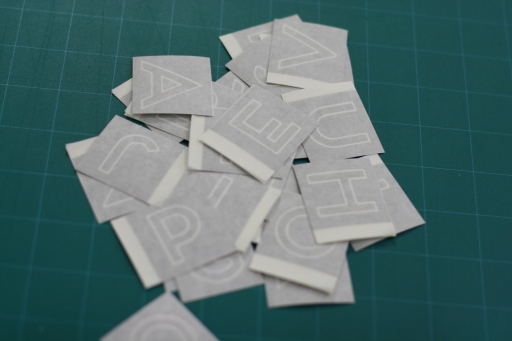
Vinyl “Stencils” that I designed and cut :: Edited to add, I now have sets of these stencils up in my etsy shop here if you want to make some blocks of your own!
Now, if you don’t have an extra 2 hours on your hands, or blister proof thumbs, you may want to invest in pre-cut and sanded blocks like these from various etsy sellers.
I had asked for a palm sander for Christmas, and Jerm was nice enough to let me buy it early to work on this project. He cut the wood into 1.5” lengths with the chop saw, and I took over sanding each side and knocking down the corners and edges with the sander. I used 220 grit sandpaper since the wood was already pretty smooth. 2 hours and 2 blisters later, I had 26 blocks ready to be painted.
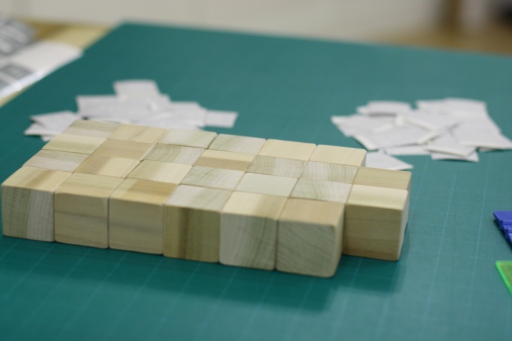
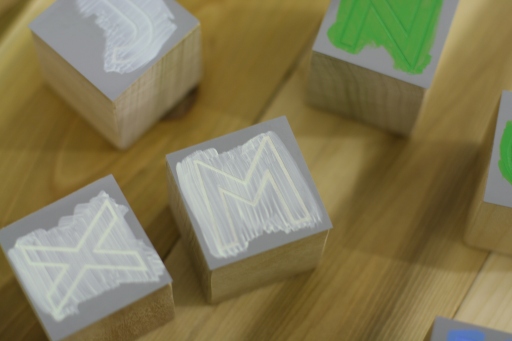
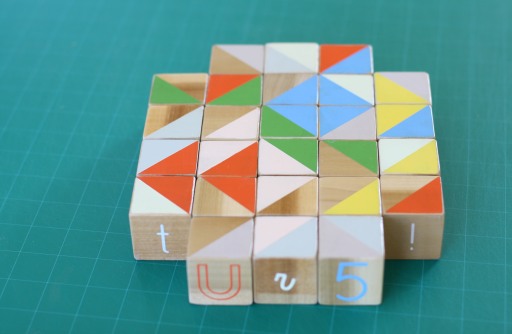
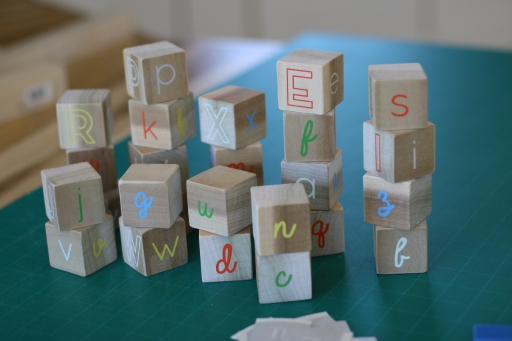
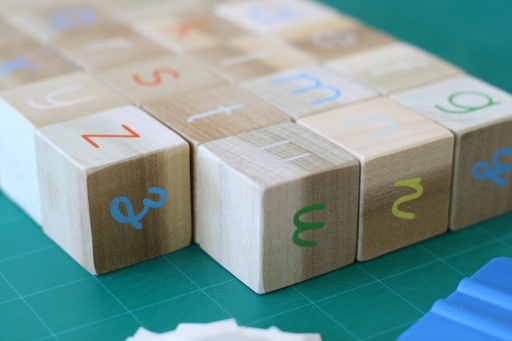
I had drawn up “stencils” for 4 of the six sides in my vinyl cutting program. I made one side uppercase, one side lowercase, one side cursive, and one side numbers and symbols. It was quick and easy to stick the stencils and paint over them with a small brush.
At first I stuck all of the stencils, painted all of the blocks, and then removed all of the stencils, but I found that the vinyl wanted to splinter the wood on some of the blocks – especially after the paint was dry – so I started pulling them off as I went. I loved the finished product!
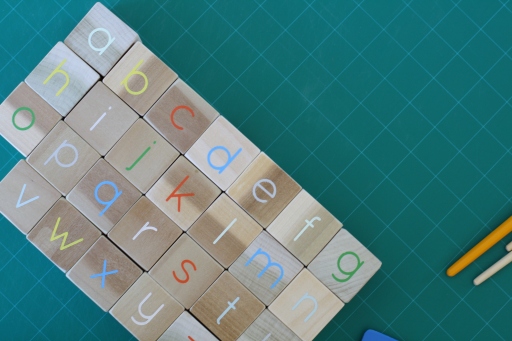
For the remaining two sides, I wanted to divide them in half and paint each half in different colors. That way you could use the blocks almost like a puzzle or to try to make a long chain of colors. For this step, I just cut lengths of frog tape and divided each side in half.
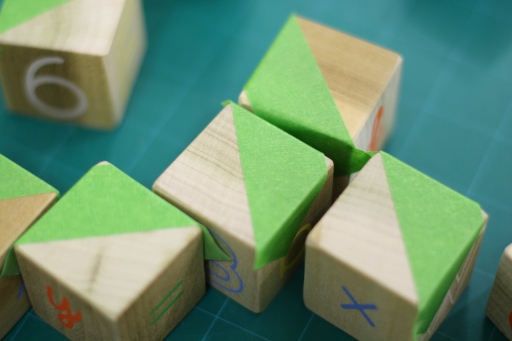
I carefully painted up to the edges because I didn’t feel like taping them off + they were rounded over.
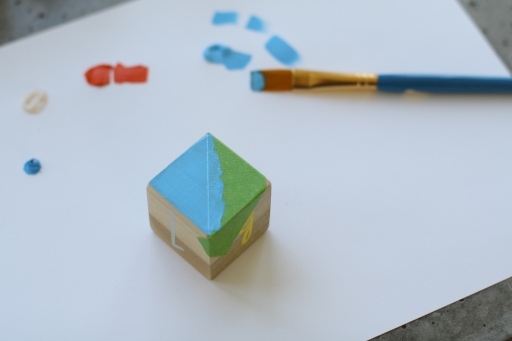
About 10 hours (spread over 3 days) later, I had finally finished the painting on all 6 sides of the blocks.
Time to seal them. I used the same water-based polyurethane as we used on the floor in the loft. I did a bunch of research and couldn’t find any info stating it wasn’t safe, but any food-grade sealant or Safecoat Acrylacq would work as well if you are concerned.
This was my least favorite step. After two coats, I gave them a quick sand with a scotch brite pad and put on the final – third – coat. And there you have it! I’m delivering them Monday, so hopefully I can find a cute basket to put them in tomorrow.
